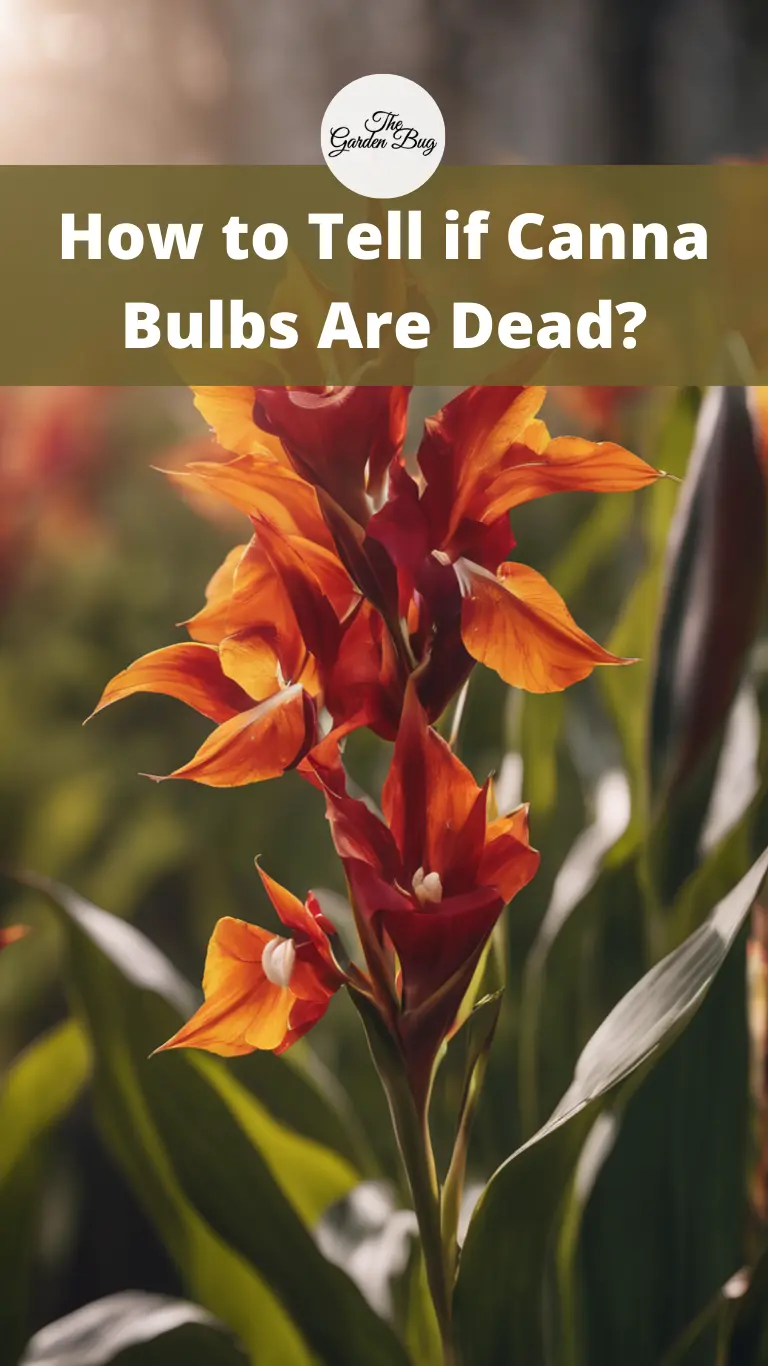
Welcome, green thumbs and novice gardeners alike! There’s something truly magical about growing your own plants, isn’t there? One moment, you’re holding a small, unassuming bulb in your hands, and the next, it has blossomed into a majestic display of color and life. Today, we’re focusing on one plant in particular: the Canna. Originating from the tropics, these plants are loved for their vibrant flowers and large, banana-like leaves.
But how do you know if that small, seemingly lifeless bulb you’ve just bought or dug up after the winter is actually alive and ready to burst into life in your garden? That’s precisely what we’re here to explore. By understanding the health of your canna bulbs, you’ll be setting yourself up for a successful gardening season.
Understanding Canna Bulbs
Now, before we delve into the nitty-gritty of distinguishing a living bulb from a dead one, let’s take a moment to truly understand what a canna bulb is. Unlike many plants, cannas don’t grow from true bulbs, but from something called a rhizome, a sort of horizontal underground stem. However, in common gardening language, we often refer to them as ‘bulbs’.
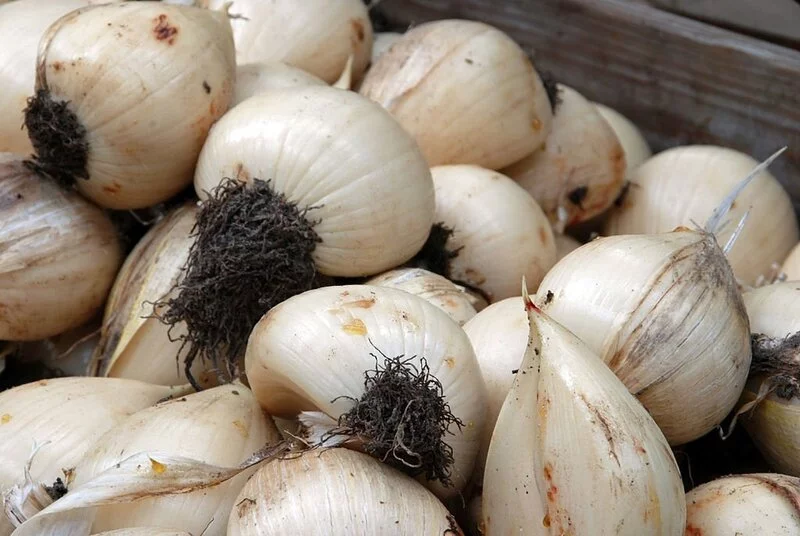
These ‘bulbs’ or rhizomes are the heart of the canna plant. They’re like little bundles of potential, storing energy that the plant can use to grow when conditions are right. A healthy canna bulb is generally plump, firm, and robust to the touch. It is usually a solid beige or tan color, though some slight variations in color can be normal.
But how do you know if the bulb is past its prime and unlikely to sprout the lovely canna plant you’re hoping for? Stay tuned as we break it down in the following sections. We’ll be going over the signs of both healthy and dead canna bulbs, and also how to test them for viability. Let’s unlock the mysteries of these powerful life-carriers together!
Signs of a Healthy Canna Bulb
Picture a robust potato. That’s exactly what a healthy canna bulb should feel like: firm, sturdy, and full of life. If you’re new to gardening, don’t worry! A healthy canna bulb isn’t hard to spot. In general, these bulbs have a smooth surface and consistent beige or tan color. Occasionally, there might be some patches or spots, but these are usually harmless.
An excellent way to check your bulb’s health is by giving it a gentle squeeze. A good, living bulb will resist your pressure; it’s telling you it’s ready and raring to grow. If the bulb is slightly springy but still mostly firm, that’s a sign of a healthy, hydrated bulb.
Signs of a Dead Canna Bulb
Now, let’s talk about the less pleasant stuff: dead canna bulbs. Unfortunately, not every bulb you encounter will be a potential life-bearer. But don’t fret – the sooner you can identify a dead bulb, the quicker you can replace it and continue your gardening journey.
A dead or dying bulb often has a mushy or soft feeling to it. When you give it a squeeze, it might yield under your pressure, much like an overripe piece of fruit. This squishiness is a sign that the bulb has started to rot and is no longer viable.
Additionally, discoloration can be a sign of a dead bulb. While a healthy bulb has a solid color, a bulb that’s turning black, brown, or has visible mold is sending you a signal that it’s in trouble. These bulbs are best composted rather than planted, as they’re unlikely to grow into the lush canna plant you’re envisioning.
Remember, gardening is all about observing and learning. Recognizing the difference between healthy and dead canna bulbs is a key step in becoming a canna-growing guru. Keep reading as we uncover how to test the viability of your bulbs and ensure your garden flourishes!
How to Test Canna Bulbs for Viability
So, you’ve learned the basics, but you’re still unsure whether your canna bulb is a dreamer or a dud? No worries! There’s a simple yet effective way to check the viability of your bulbs: the water test. This method is as easy as it sounds. Fill a bucket with water and gently place your bulbs in. The healthy ones will sink, while the dead ones will float. This happens because healthy bulbs are dense with stored nutrients, while the dead ones are empty and hollow.
The squeeze test is another method that we’ve briefly touched on before. Gently press the bulb; if it’s firm, it’s a keeper. If it’s soft or mushy, it might be time to say goodbye.
Preventing Canna Bulbs from Dying
Now that you’re an expert at spotting the signs of dead bulbs, let’s talk about how you can keep your bulbs healthy. After all, prevention is better than cure!
The key to happy canna bulbs is storage. If you’re storing your bulbs for the winter, keep them in a cool, dry place. Humidity is the enemy, as it can cause your bulbs to rot. Remember, the bulbs are storing energy for the plant, and they need a hibernation-like state during winter to preserve this energy.
Regular watering, but not overwatering, is also crucial. Cannas are thirsty plants, but too much water can cause the bulbs to rot. A good rule of thumb is to water when the soil feels dry to the touch.
Conclusion
And there you have it, folks! By paying attention to the signs of healthy and dead cana bulbs, testing their viability, and knowing how to prevent bulbs from dying, you’re well on your way to becoming a canna-growing champ. Remember, gardening is a journey of learning, so don’t worry if you encounter a few dead bulbs along the way. Each bulb is a lesson that brings you closer to a thriving garden. So, keep observing, keep experimenting, and most importantly, keep growing. Your lush, vibrant cannas are just around the corner!


